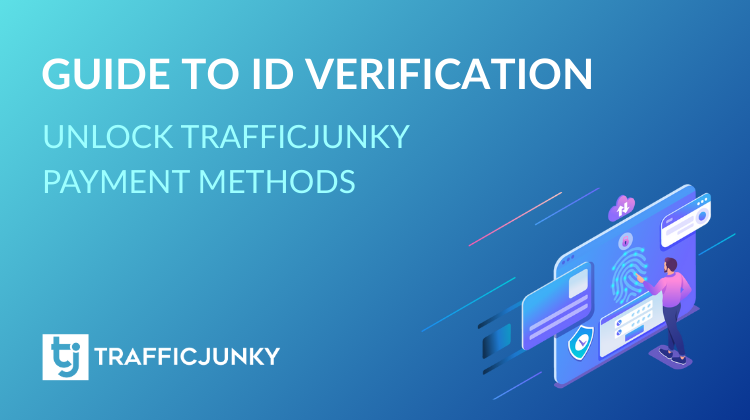
Welcome, fellow digital adverturer! Ready to unlock the full power of TrafficJunky? Before you can blast off and start running campaigns, you’ll need to complete your ID Verification. Don’t worry, this walkthrough will make the process as easy as pie.
Whether you’re an individual or representing a business, this guide will help you breeze through the ID Verification steps, avoid common errors, and get verified faster than you can say “biometric consent”.
Let’s get started!
Why ID Verification Matters
TrafficJunky uses third-party tools to verify your identity – think of it as your digital passport to the platform. All payment types require ID Verification, so don’t skip this step if you want to fund your account and start your campaigns.
Pro Tip: Before you begin the ID verification process, make sure your profile is filled out correctly as either an Individual or a Company. This ensures a smooth verification journey and helps avoid any hiccups along the way!
ID Verification for Individuals
Step-by-Step Walkthrough
- Go to Add Funds:
On the Add Funds page, pick your payment method. If you see “Verification Required,” choose Individual.
- Enter Your Details:
Select your ID document’s country of issuance and your date of birth. Hit Start Verification Process.
- Biometric Consent:
A pop-up will ask for your biometric consent. Fill it out and click I Agree (it’s like giving a virtual high-five to the system).
- Choose Your Device:
Select Use Smartphone (highly recommended for crystal-clear pics) or Use Computer.
- Complete the Steps:
If on Mobile: Scan the QR code, snap pics of your ID (front and back), then take a selfie.
If on Desktop: Allow camera access, position your document within the frame, confirm the image is clear, then capture both sides of your document followed by your face.
- Wait for the Magic:
Most verifications are done in about 10 minutes. You’ll see a confirmation banner once you’re good to go!
If you hit a snag, check the error message and reattempt, or reach out to Support@trafficjunky.com!
ID Verification for Companies
Step-by-Step Walkthrough
- Go to Add Funds:
On the Add Funds page, select your payment method. If “Verification Required” appears, choose Company.
- Enter Company Details:
Fill in all the company and headquarters info. Click Verify Company.
- Status Update:
You’ll see a message under “Verification Required.” If you pass, a banner will confirm your company is verified and payment methods will unlock.
- If You Fail:
Don’t panic! Check all the fields you filled in and retry!
Error Messages
Nobody likes error messages, but they’re here to help! Here are some common ones and what they mean:
- Empty input: You missed a field—go back and fill it in.
- Invalid input or unsupported symbols: Stick to letters, numbers, and allowed symbols.
- Unsupported country: Contact support if your country isn’t on the list.
- Max attempts reached: You get three tries. Wait 24 hours before trying again.
For company verification, double-check your Company Name, Tax ID, Building Number, Street, and ZIP/Postal Code for typos or unsupported characters.
Biometric Consent Management
Want to view or remove your biometric consent?
- Go to My Profile > Documents.
- Find Biometric Information Consent and Authorization.
- Click Remove Consent if you wish to revoke it.
Note: If you remove your biometric consent, you’ll need to reattempt the ID verification process to unlock payment methods.
Available Payment Methods
That’s it! You’re now an ID verification ninja. Once you’re verified, you can fund your account and start running campaigns on TrafficJunky like a true digital pro.
Still stuck? Reach out to Support@trafficjunky.com! May your campaigns be ever optimized!